
Woodfired Pizza Masterclass #2 – shaping and baking
Woodfired Pizza Masterclass #2 – shaping and baking. This week we’re covering just that – shaping and baking your pizza following on from last week’s masterclass of making your dough.

- Having made your dough, leave it overnight to prove and develop flavour in a cool place.
- Roll your dough balls as David shows you in the video and then leave to relax for as long as possible – up to 6 hours in a cool place is great but for at least an hour.
- Shape your dough balls using lots of flour on both sides and leaving a good margin around the outside so the crust can puff up.
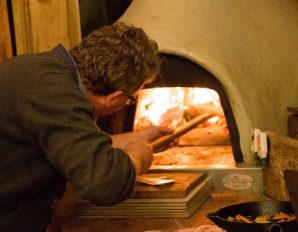
- Make sure the fire is ready to bake – you want zero Mississippi. Keep the fire burning by adding small pieces of wood and have it burning so brightly you can easily see all of the oven. The oven floor should be between 350-400C.
- Put the well floured pizza base on a clean metal peel and then top it quickly with your chosen toppings.
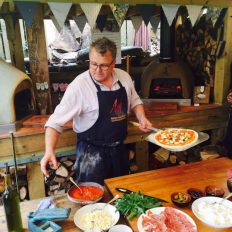
- Make sure the mozzarella is pulled into small pieces so that it melts and grills easily and doesn’t form large pools of cheese.
- Put the pizza in the oven under control as David shows you in the video.

- Let the base set for 20-30 seconds and use a smaller turning peel to turn the pizza around so it gets an even cooking.
- Once the pizza is puffed up, the crust is set and the cheese grilled golden brown, take the pizza out and place it on a board.
- Chop it into wedges with a sharp knife and serve at once.